


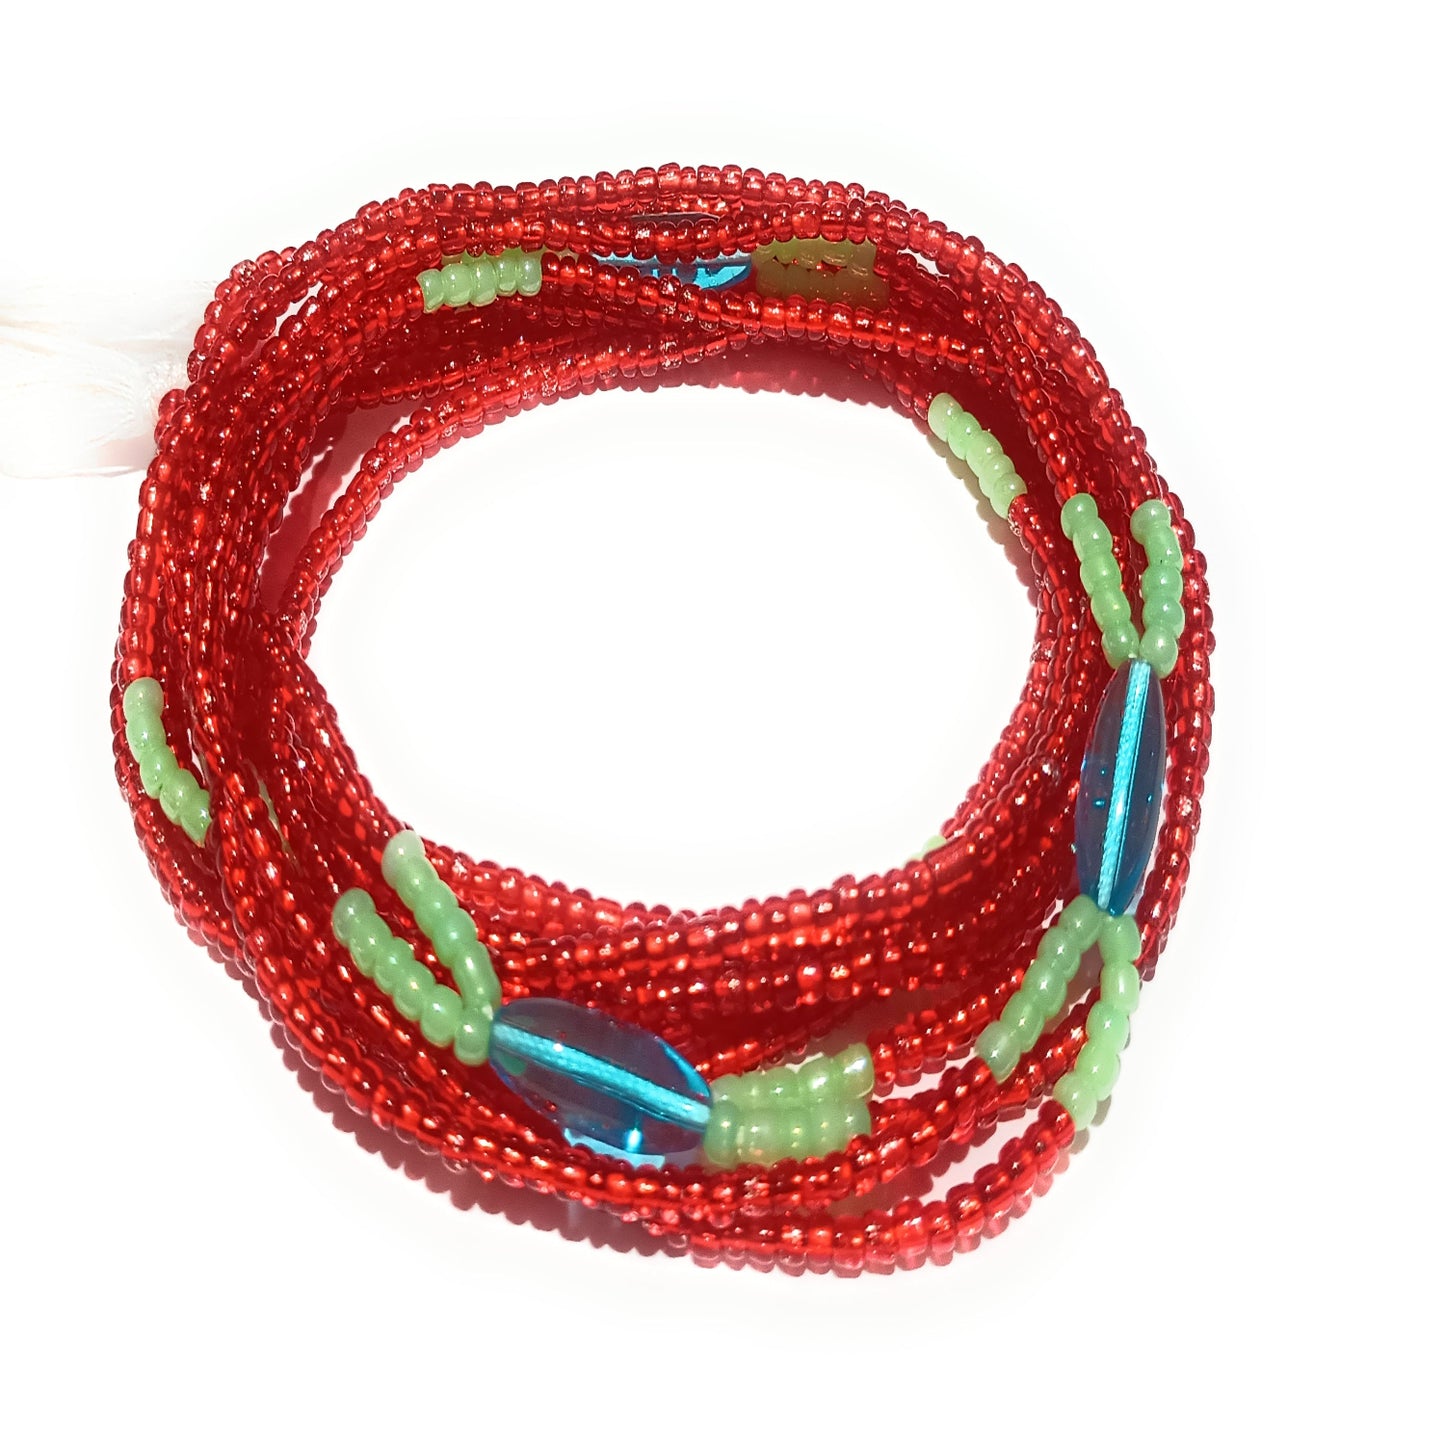

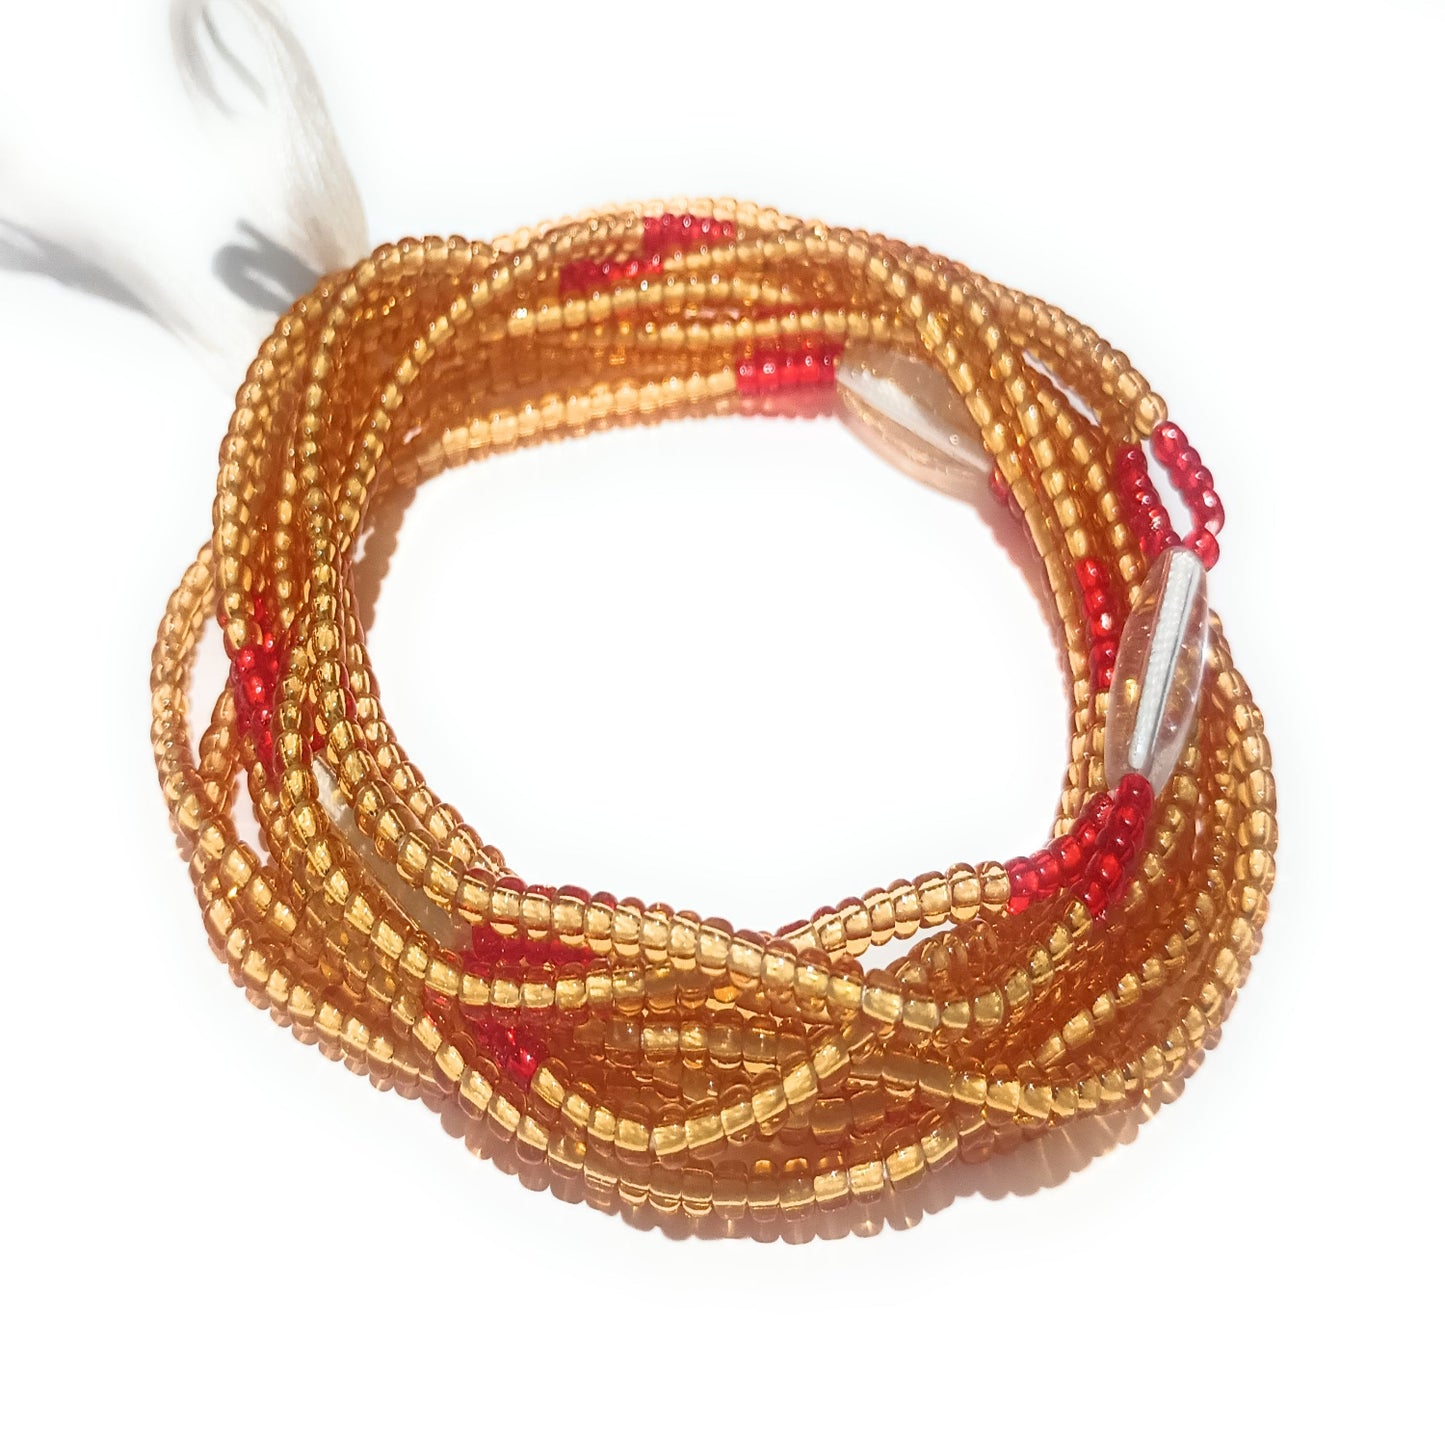
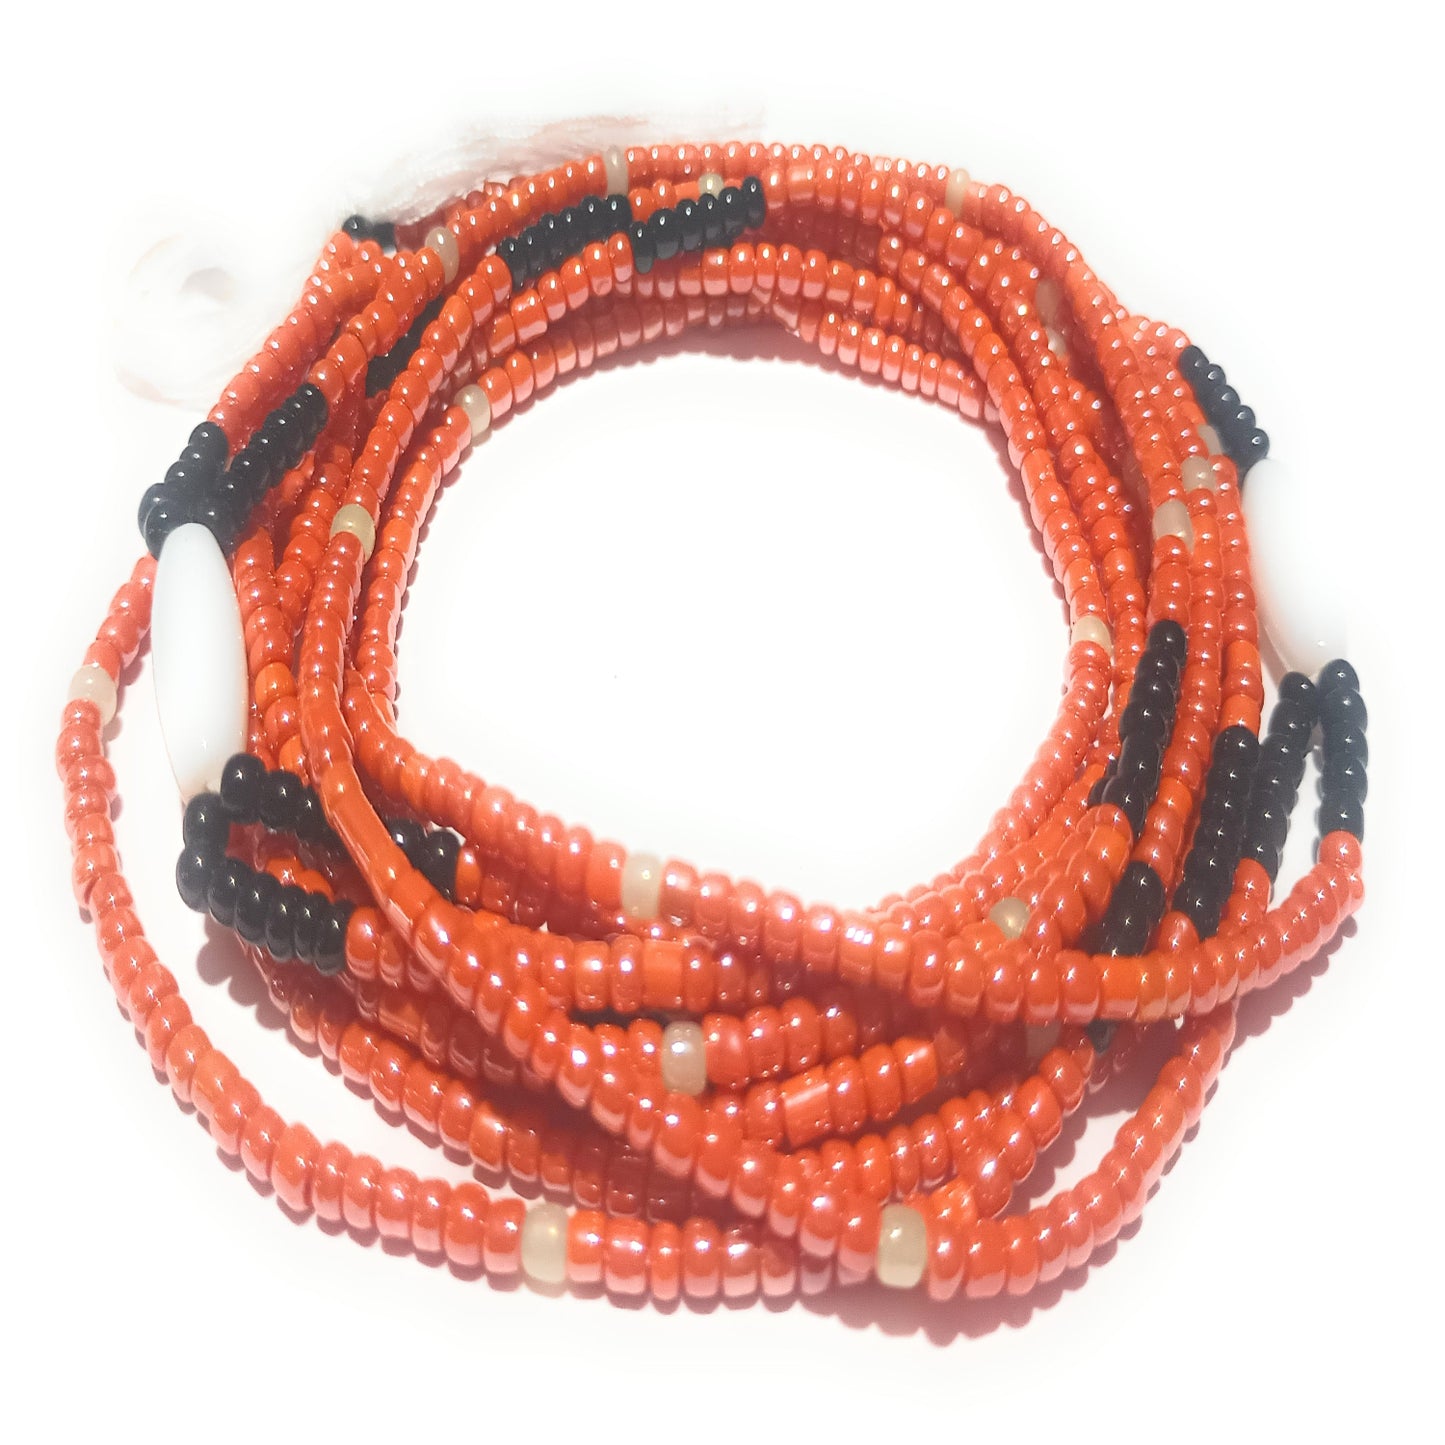


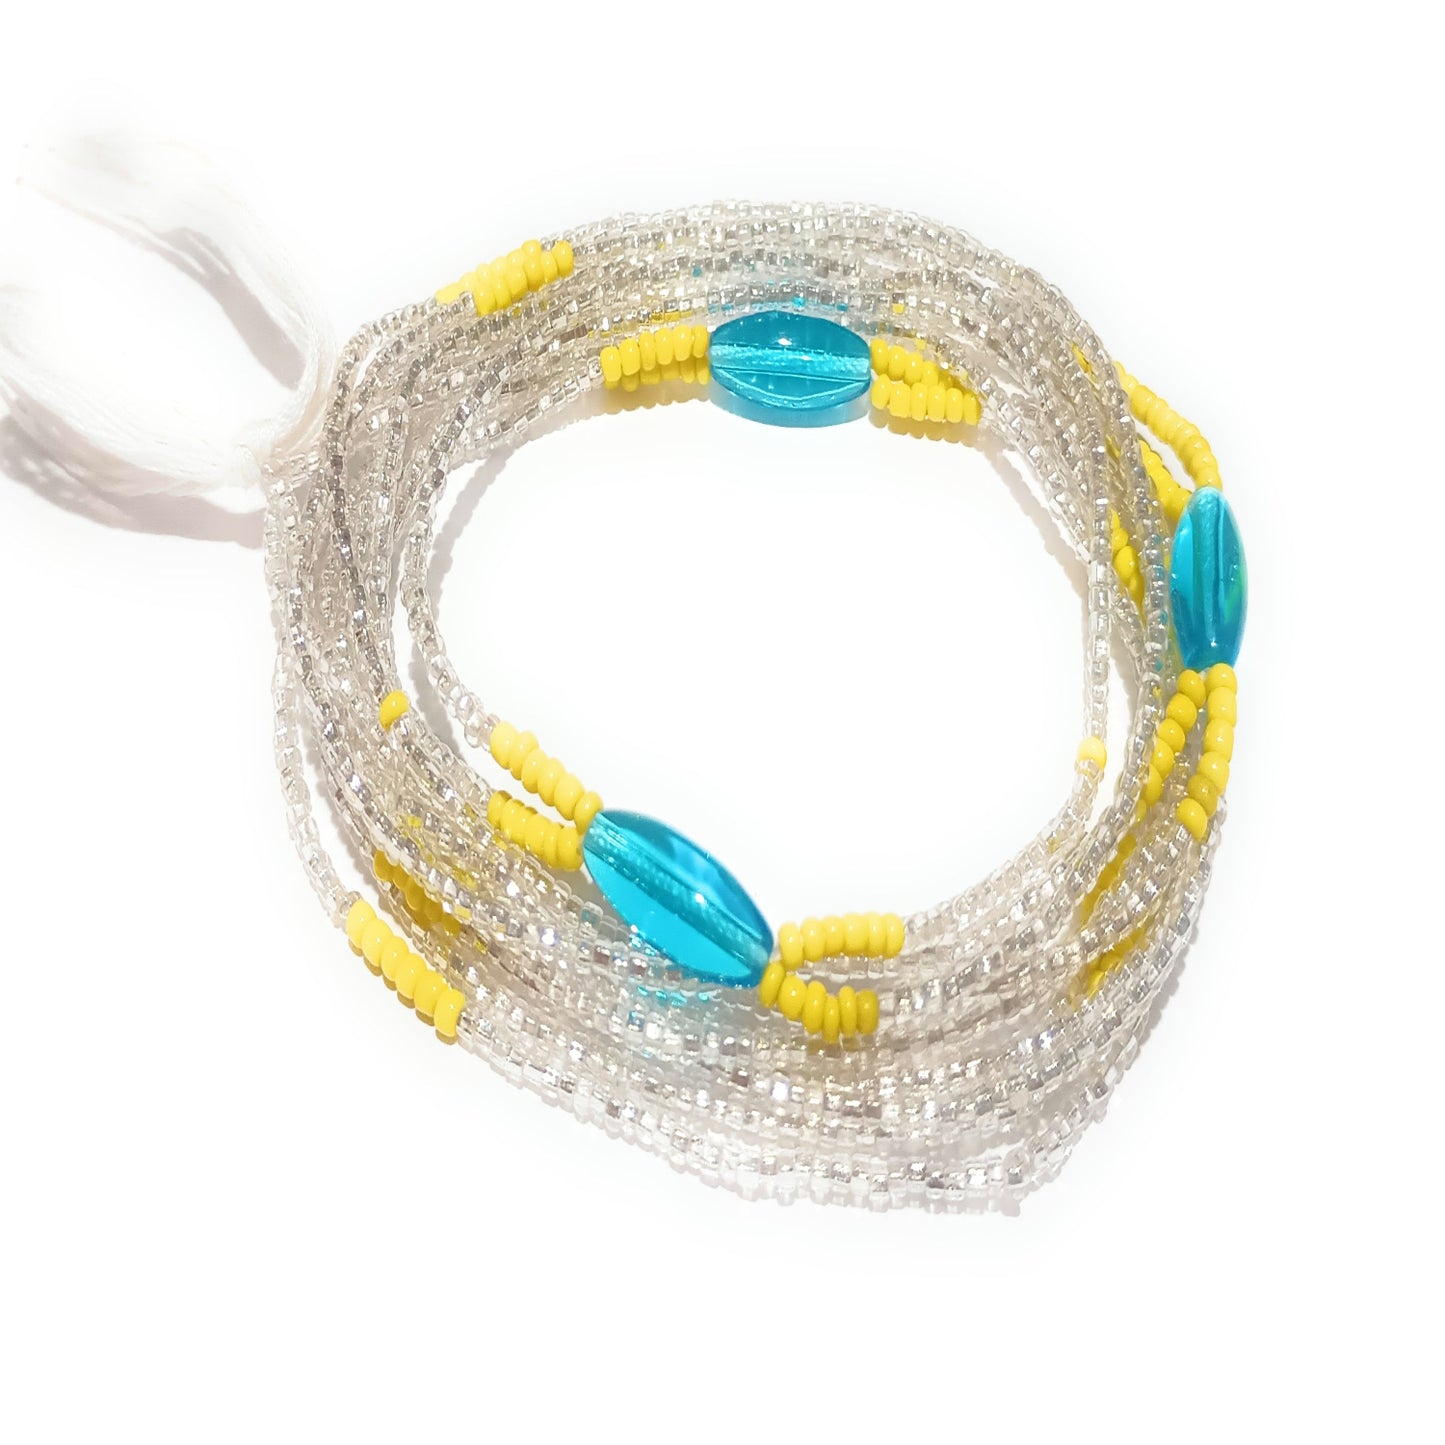
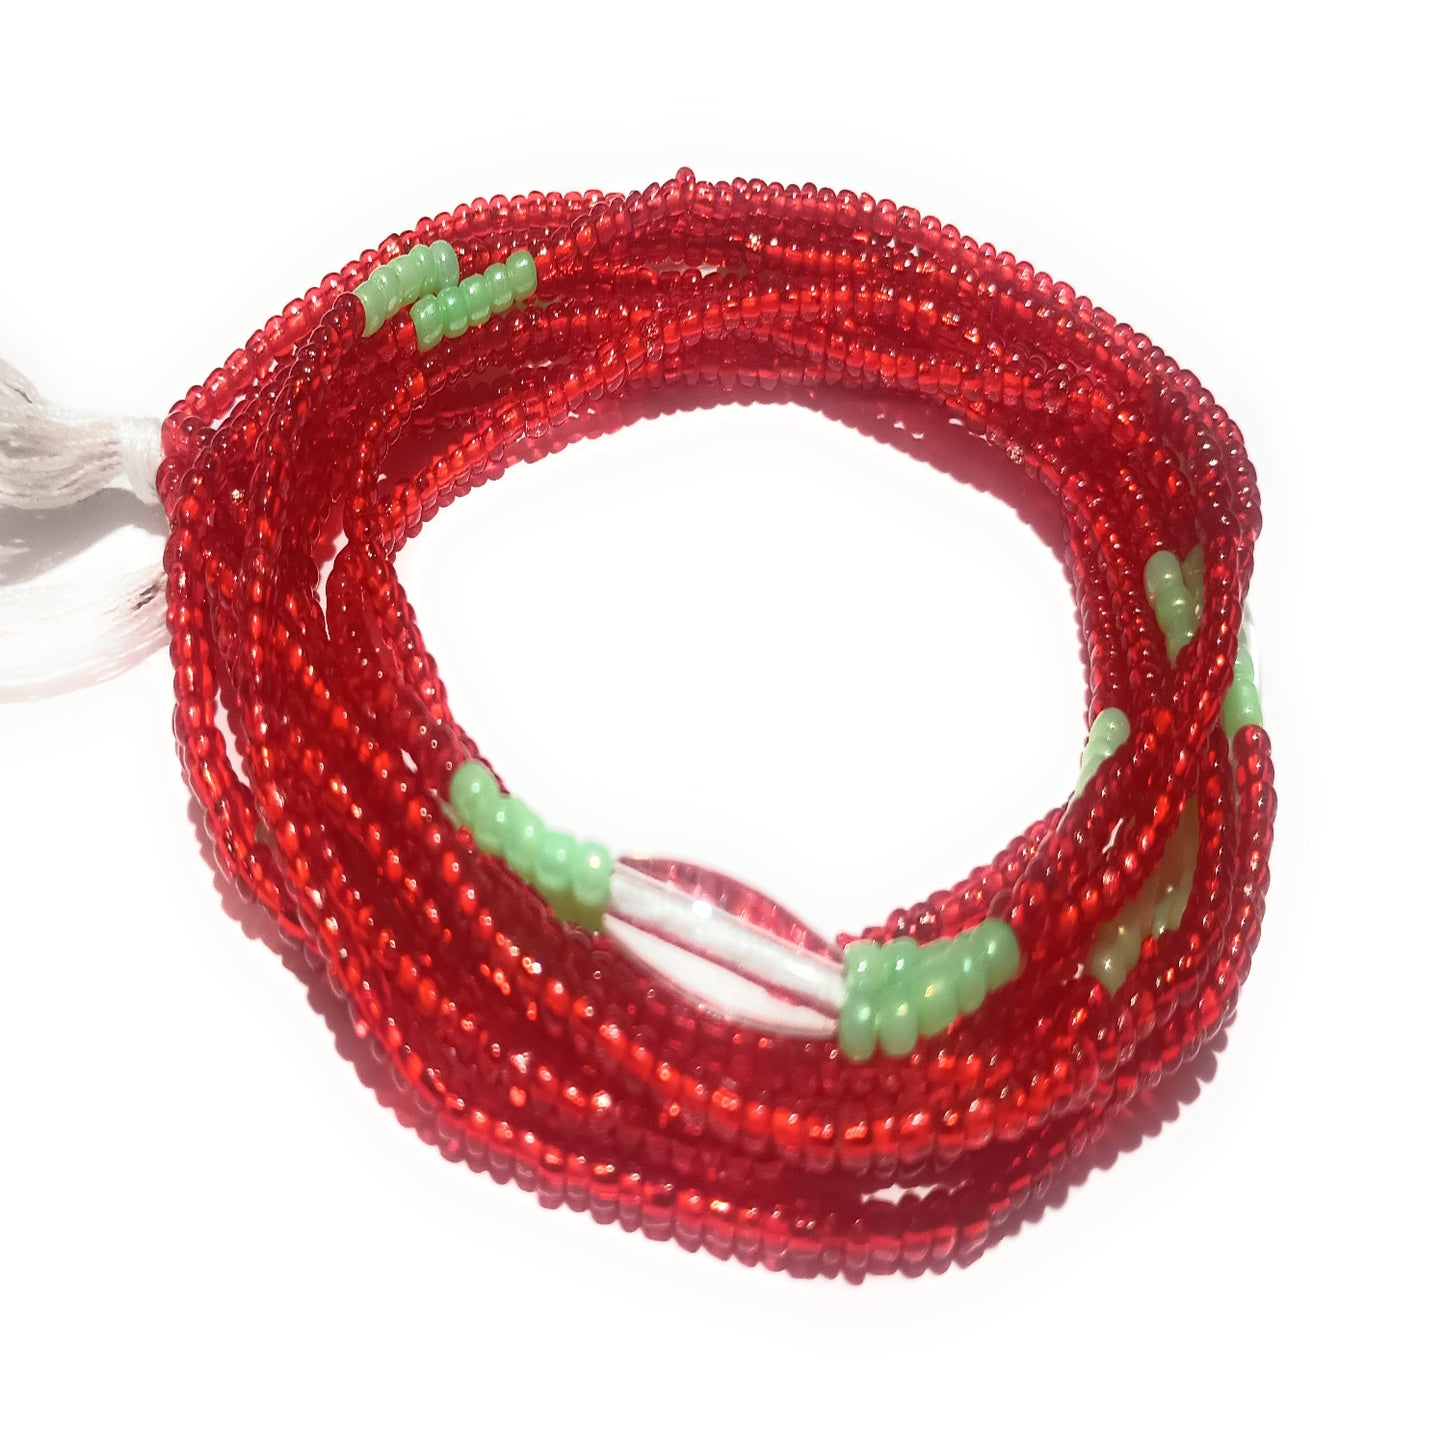
Fitting Your Tie-On Waist Beads
This guide is for tie-on waist beads. For clasped or elastic styles, follow the fitting instructions for that product.
Before you begin: Use a flexible measuring tape around your waist or hips where you want your beads to sit. Keep it comfortable, not tight, and compare your measurement with the strand length listed on the product before ordering. Have scissors ready and work somewhere you can collect loose beads.
Follow each picture with its matching instructions. The illustrations show the general process; use the written steps for knotting and trimming details. Check the fit and make sure the knot holds before cutting any string.

1. Choose your position
Wrap the strand around your waist or hips where you want your beads to sit. Hold both string ends so beads do not slip off.

2. Move extra beads aside
Slide unwanted beads toward the loose ends to expose enough bare string for tying. Keep the beads you plan to wear together, without gaps. Remove extra beads over a tray or container.

3. Check your comfort
Leave a little breathing room. Sit, bend, and take a comfortable breath before tying. Adjust the strand if it feels tight or digs into your skin.

4. Tie securely
Cross the two bare string ends, pass one end through the loop, and pull both ends to tighten the knot close to the beads. Repeat to make 3–5 tight knots in total, keeping your comfortable fit.
Gently pull the string ends to check that the knot does not slip. If it loosens, do not trim the string; retie it and check again. If it continues to slip, contact us before cutting.

5. Trim carefully
Check the fit and knot before cutting. Keep the scissors away from your skin. Cut only loose, bare string tails beyond the knot, never the beaded strand or knot itself.
Leave approximately ¼–⅜ inch (6–10 mm) beyond the knot, or the allowance specified for your strand. Do not cut flush against the knot. Collect loose beads. The picture is not to scale.

6. Ready to wear
Check that your beads rest comfortably and the knot is secure. If the strand feels tight or uncomfortable, do not keep wearing it. Save extra beads for another jewelry project.
Tie-on strands can be shortened by removing beads, but this does not make them longer. Excess beads or strands can be used to make anklets or wristlets.
Anklets & Other Jewelry
For tie-on anklets, measure around your ankle and follow the same fitting process, leaving room for comfortable movement. For bracelets, necklaces, and other jewelry, compare the listed dimensions with your measurements before ordering. Not all jewelry styles can be resized.

New to Tie-On Waist Beads?
New to tie-on waist beads? Learn how to fit a strand to your preferred placement.